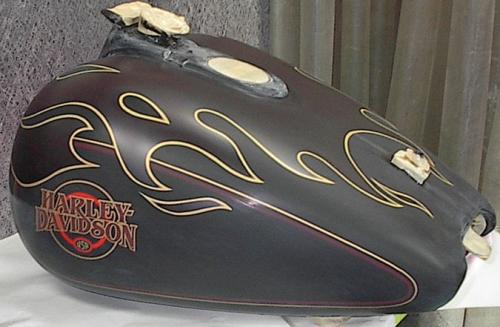
In this case, I had a tank with a little damage and a pre-existing logo and taped stripes. So as well as the work you see here, there was some minor filling and a lot of sanding involved to fix paint chips.
|
The first step is a complete sanding of the surface, to remove the
existing gloss of the factory clear. At this time, it is important to get
the ridges from the tape works as smooth as possible, without burning
through. Then, a latex based masking material used in the sign industry,
called "gripmask" is painted on - at least 3 coats. (With a roller in this
case). When dry, the design was drawn on in felt markers, and the exterior
edge of the flame pattern cut with an exacto knife, freehand. The inside of the design is then peeled away. At this point, I decided that a little more sanding of the stripes was required. |

|
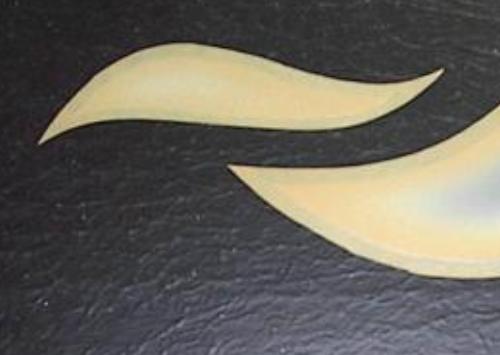
Then, the gold that is to be the eventual stripe edge, is sprayed. I sprayed a coat of white first to give the gold a brighter backing and eliminate the change of color between the tape and background colors. It's easier to do this with a light coat of white, than with multiple coats of gold. |
|
With the gold dry, another layer of gripmask is applied, allowed to dry,
and the inside of the pinstripe cut, again freehand. The masking is
carefully peeled away, to expose the portion that will receive the next
color - in this case a pretty wild combination of maroon with various
pearls. The result was a flame job that had colour shifts depending upon
your viewing angle.
God help me if I ever have to match it... |
|
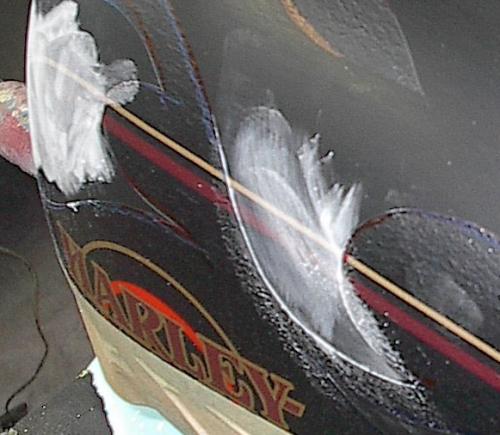
The spraying finished, the tank is ready for the first coat of clear. All
of the grip mask is carefully removed, and areas that do not require clear
are retaped. A final cleaning with high pressure air, and it's ready.
Note: The use of tack cloths can sometimes remove essential overspray and leave streaks. They should be avoided whenever an airbrush has been used. |
|
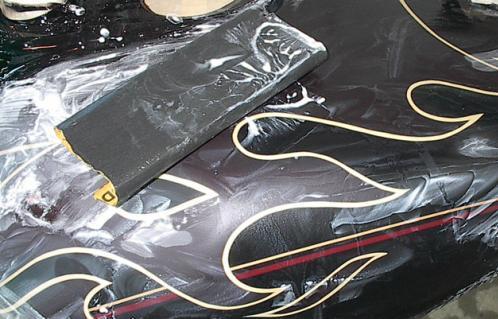
With the clear coat dry and baked, it's time to finish.
Finishing means, wetsanding all the edges smooth with 600 grit paper, feeling, and sanding and feeling, and sanding..... |
|
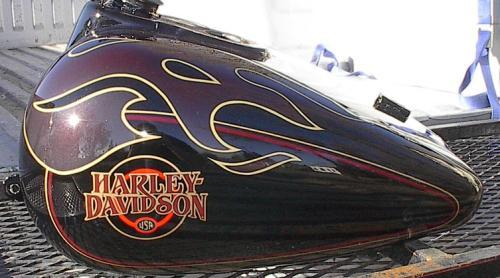
Final coat of clear applied, it's finished.
FINALLY! |