The following diagrams are based on a Miniature Schnauzer of correct
conformation and type. The stripping pattern and trim shown should be
adjusted for each individual dog as required.
The sectioned jacket is the easier of the two methods that may be used
(especially for novices) when stripping a Mini Schnauzer. In this method,
it is best to begin with an untrimmed puppy or adult in blown coat. The
process is simple - you simply remove all the hair in the section
indicated, following the pattern by stripping the subsequent sections in 7
day intervals. Thus, stripping should be complete in about 4 weeks.
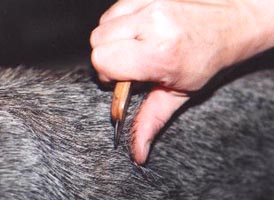
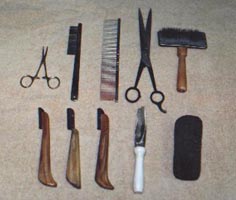
Stripping w/knife
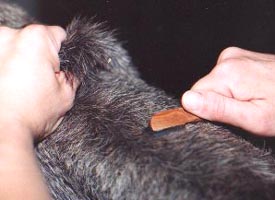
Raking undercoat
The hair is removed by plucking with forefinger and thumb, or stripping
knife and thumb, a few at a time, until the area worked on is completely
bare. The hair must be pulled from the roots - not cut. Don't remove too many
at a time - this is painful for the dog and for your hands. Always pull in
the direction the hair grows.
Avoid the use of lotions, etc. on the bare skin. However, do watch that
itchy spots or abrasions that may have accidently occurred don't become a
problem. These can be treated with a soothing antibiotic rub or powder if
need be. Bare skin will sunburn! Ensure that the dog is
protected with shade or a light jacket when outside. The same holds true
for severe winter weather - a stripped dog is without a coat and will
chill sooner. Put a sweater on or keep his trips outside brief if the
weather is wet or cold.
In a few weeks time, soft, fuzzy undercoat will begin to reappear, just
ahead of the new wire. There may also be some scraggly leftovers, hairs
that were cut instead of plucked. Remove this "junk" before the new coat
is more than 1/4" in length.
As the coat begins to take shape, raking with an extra fine stripping knife
will keep excess undercoat at bay. When removing undercoat, keep a close
eye on your mirror. It's important to leave some undercoat to create smooth
lines, enhance the arch of neck, fill low spots, etc.
Scissoring and clipperwork
Diagrams of the basic trim lines that should be followed in
shaping the legs, underline and head.
Prior to any trimming taking place, the furnishings and beard should be
bathed and blown dry, using the slicker brush to seperate and fluff the
hair. A bit of sculpting mousse will help hold the hair and reduce static.
You can also use a little chalk to provide control while scissoring. (Yes,
your scissors will become dull more quickly by trimming chalked
furnishings, but the purpose of trimming is to trim legs, not keep scissors
sharp.)
Begin by clippering the cheeks, ears, butterfly under the tail and tummy
to a spot no further forward than the navel. Trim excessive hair from
between the foot pads as well. I use #30 blade for these areas. Also
clipper the white portions of the chest, but do not dive too deeply
between the front legs. This area should be blended into the fore leg
hair with scissors.
Scissoring should be done with straight scissors, using angled cuts, tips
pointing to the ground. Move around the dog as you trim and check the results
in the mirror often. Keep the edge, not the flat, of the blades in alignment
with your line of sight. Otherwise, you have no idea what you are trimming.
Concentrate on making smooth, sharp lines.
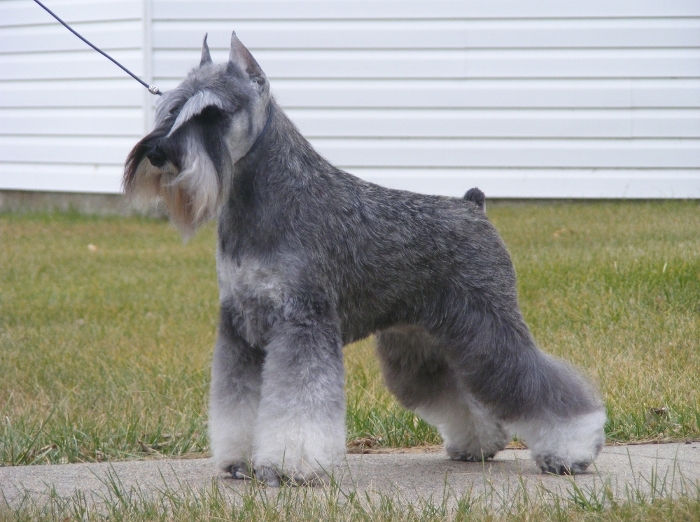
A pic of the finished job
Practice makes perfect. Study the trims of other exhibitors who's
grooming you admire and then ask for advice when they have a free
moment! The worst that can happen is that they will say "No"!